BeagleBoard X15 Adventures — Processor SDK Installation for AM57x
In this blog post, I will try to show the steps of how to install the Processor SDK for AM57x Processors. There are four different SDKs for different purposes for BeagleBoard-X15:
- Android
- Linux
- Linux-RT
- RTOS
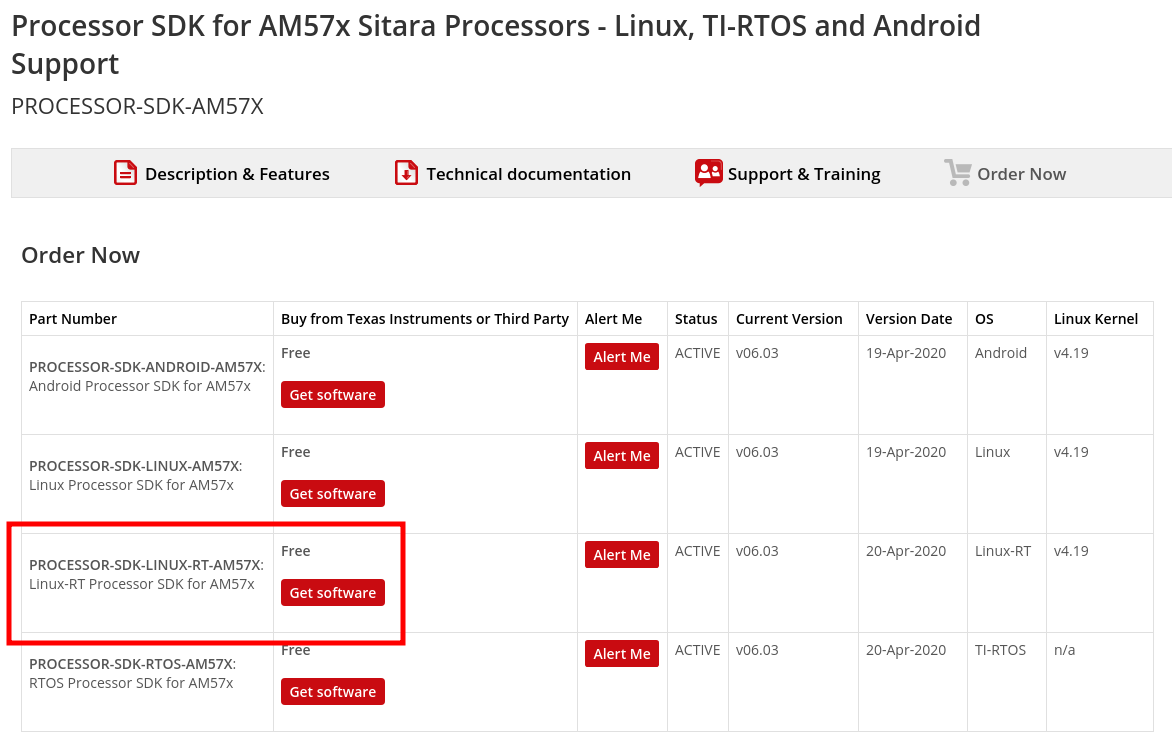
I would like to go with Linux-RT. In the post when I use SDK word, I mean Linux-RT SDK.
Installing Ubuntu
In the documentation of TI, it is written, Ubuntu 16.04 and Ubuntu 18.04 (64-bit LTS versions) are supported. But I can say, I am currently using Arch Linux, you can use any GNU/Linux distribution with your responsibility. There can be some different behavior, especially in the scripts, please be aware of that. It is also advised to use a native Linux system. If you are a newbie, you should install Ubuntu as it is suggested. If you an MS Windows user, you can use hypervisors.
I will also stick to that advice, I will make my installation in Ubuntu 18.04.
Installing SDK
If you want to develop an application on an embedded system, first of all, you need an SDK, at least some toolchain. I will go with SDK 6 which is the current SDK released. If you are planning to download and install older SDKs, steps are pretty the same, you can improvise.
-
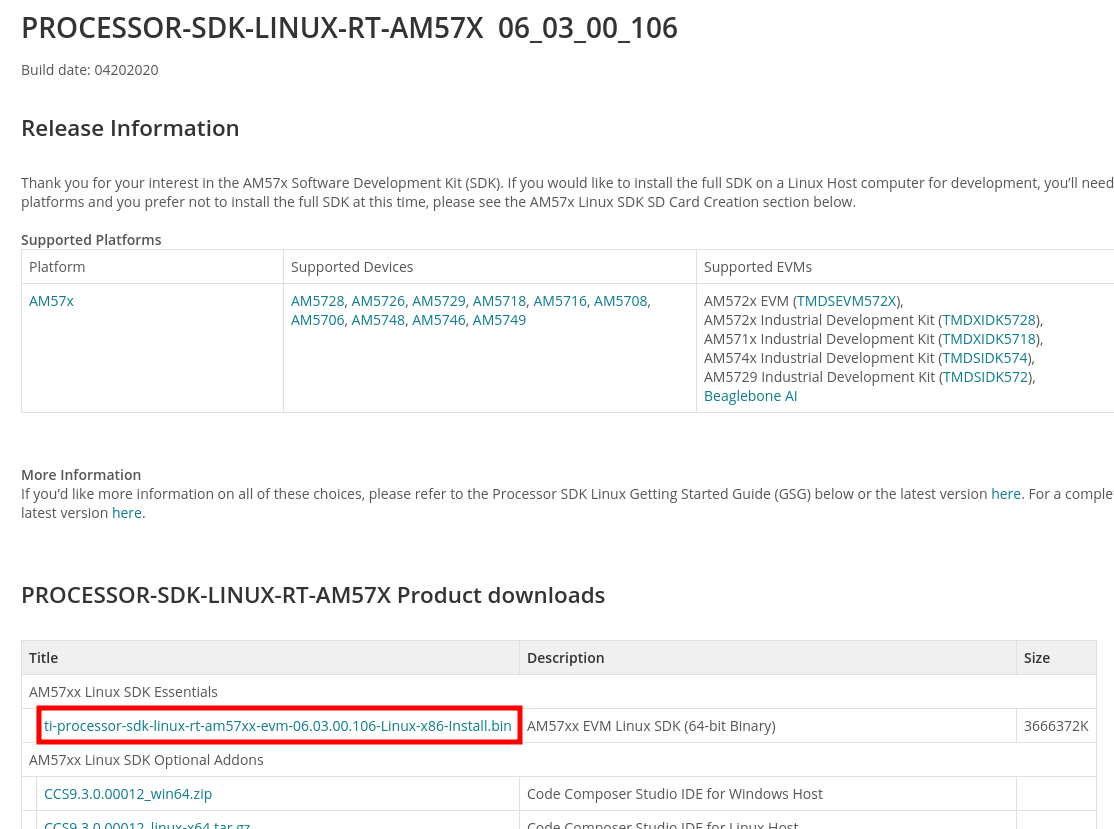
Please download the SDK from this page. Please download the SDK from the link.
-
After downloading the
ti-processor-sdk-android-am57xx-evm-06.03.00.106-Linux-x86-Install.binfile, you can execute the file to install the SDK. The file can run with or without a desktop environment. You can also check the parameters can be passed. But first, you should give execute permissions to the installation file and then you can run it:$ chmod +x ./ti-processor-sdk-android-am57xx-evm-06.03.00.106-Linux-x86-Install.bin $ ./ti-processor-sdk-android-am57xx-evm-06.03.00.106-Linux-x86-Install.bin -
Installation steps are pretty straightforward, you can click next one after another, by default the wizard will directly install the SDK to your
$HOMEdirectory. For now, let’s do it together step by step. You will get some window like below, clickNext: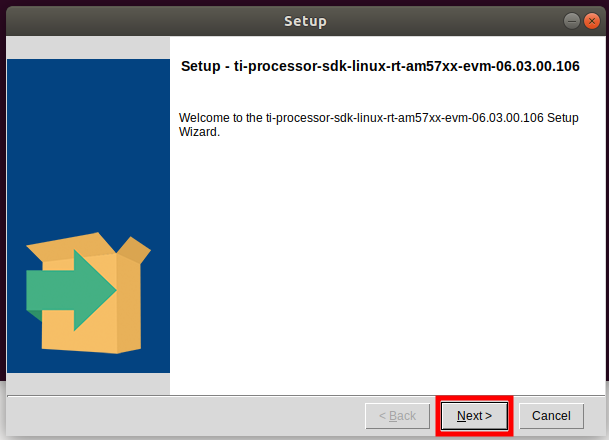
-
As I mention, the SDK can be installed at any Linux distribution, still warns you that only Ubuntu is supported. Please click
Nextto continue: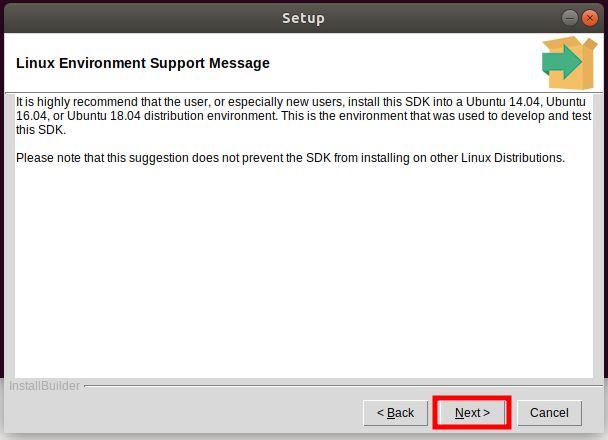
-
The wizard warns you for the GPL licenses. Please click
Nextto continue: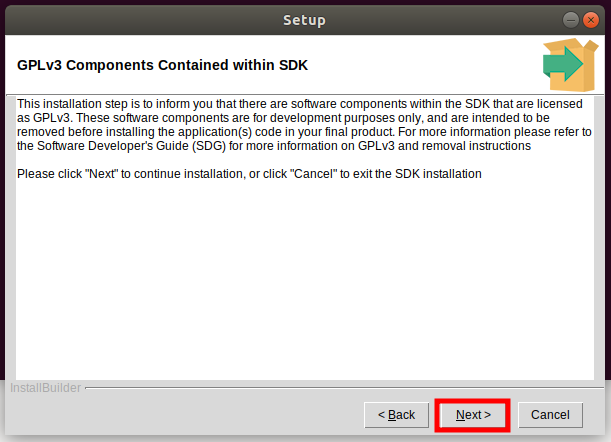
-
On this page of the wizard, you should select the installation directory for the SDK. The wizard installs the SDK in the user home directory as default. In this case, if you will use several SDKs, you will find several SDKs floating in your home directory. To prevent that, I can advise you to collect them in a separate directory, like
$HOME/TI/SDK. For now, let’s install the SDK in the HOME directory: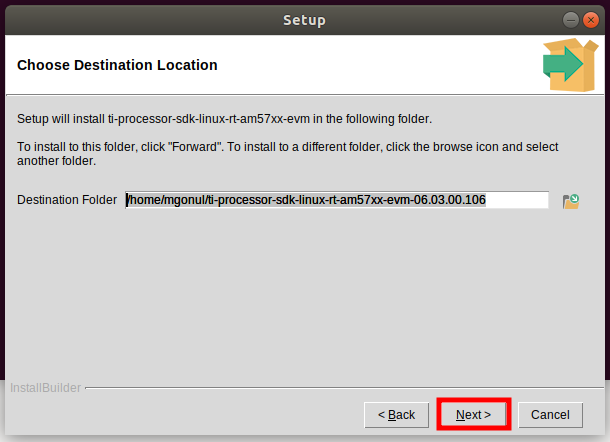
-
Here is an extra step for reviewing your installation directory decisions. Please click
Nextto continue.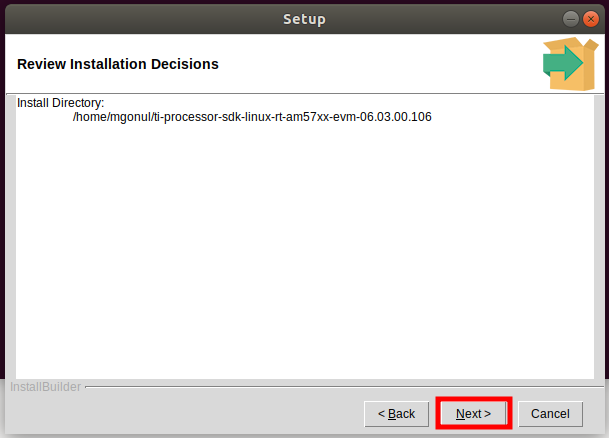
-
The last exit before the bridge, please click
Nextto continue: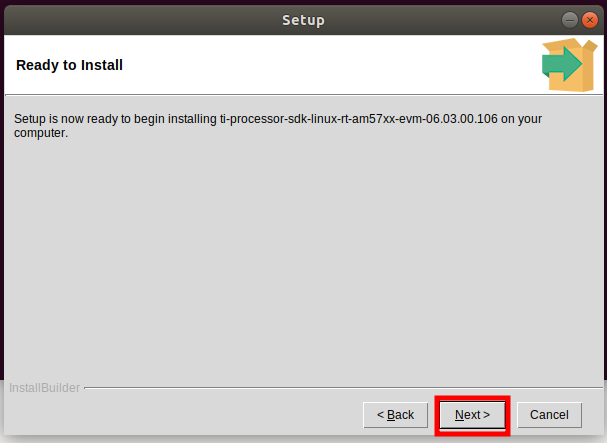
-
Installation finished. You can click the
Finishto close the wizard: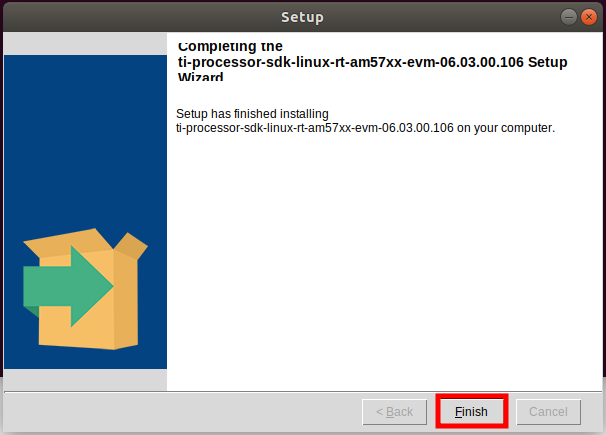
-
You can also access all the information from the TI’s documentation for everything, the aim to write this post is to elaborate the information, take attention to the important points, and document what I have learned. For the installation, you can also check this page.
SDK Directory Structure
The installed SDK contains these directories:
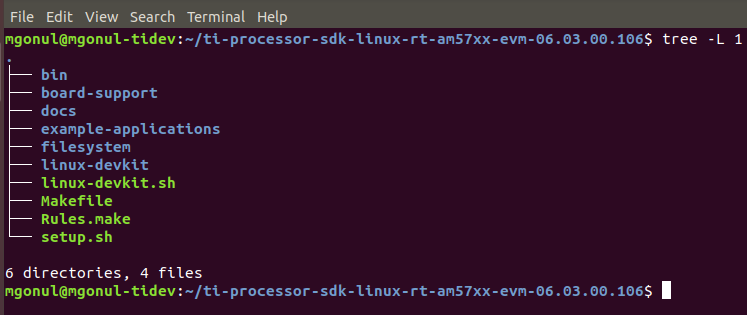
- bin : Contains the helper scripts for configuring the host system and target device. Most of these scripts are used by the
setup.shscript. - board-support : Contains the SDK components that need to be modified when porting to a custom platform. This includes the kernel and boot loaders as well as any out of tree drivers.
- docs : Contains various SDK documentation such as the software manifest and additional user’s guide.
- example-applications : Contains the sources for the TI provided example applications seen during the out-of-box demonstration.
- filesystem : Contains the reference file systems. These include the smaller base file system as well as the full-featured SDK file system.
- linux-devkit : Contains the cross-compile toolchain and libraries to speed development for the target device.
- Makefile : Provides build targets for many of the SDK components from the top-level of the SDK.
- Rules.make : Sets default values used by the top-level Makefile as well as sub-component Makefiles.
- setup.sh : Configures the users’ host system as well as the target system for development.
Documentation and Important Notes
- You can also use this documentation for AM335x chipset, other EVM boards like Beaglebone Black. In that case, you need to download and install the related SDK in the same way. You can find related downloads from here
- Only 64-bit machines are supported as hosts, TI dropped 32-bit support.
- SDK occupies around 20 GB. The installer does not check if there is enough space in the partition, directly installs the SDK. Some files cannot be installed if there is no enough space, you may not build the kernel or applications. You can think, you will not do a silly thing like that, be aware many experienced developers can be trapped this pitfall.
-
The installer can also work via CLI. You can pass
--helpargument to the installer to get further information. You can also install the SDK via CLI.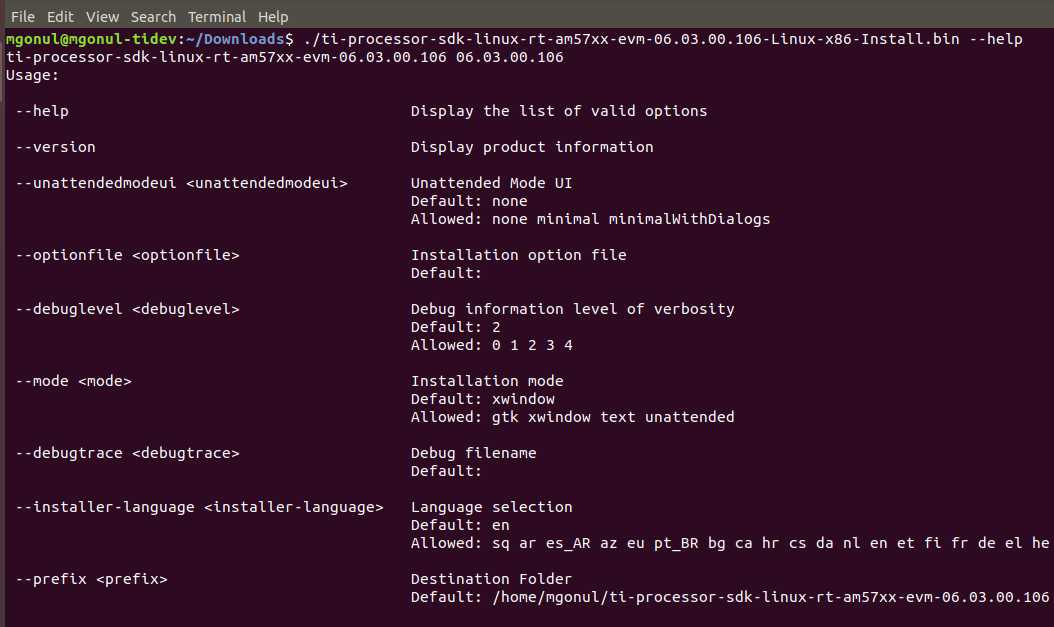
This can be very useful if you want to automatize the installation process.